在 Azure (基于Weave) 上运行 Kubernetes
- Prerequisites
- Let’s go!
- Deploying the workload
- Scaling
- Exposing the app to the outside world
- Next steps
- Tear down…
- 支持级别
- 深入阅读
In this guide I will demonstrate how to deploy a Kubernetes cluster to Azure cloud. You will be using CoreOS with Weave, which implements simple and secure networking, in a transparent, yet robust way. The purpose of this guide is to provide an out-of-the-box implementation that can ultimately be taken into production with little change. It will demonstrate how to provision a dedicated Kubernetes master and etcd nodes, and show how to scale the cluster with ease.
Prerequisites
- You need an Azure account.
Let’s go!
To get started, you need to checkout the code:
https://github.com/weaveworks-guides/weave-kubernetes-coreos-azure
cd weave-kubernetes-coreos-azure
You will need to have Node.js installed on you machine. If you have previously used Azure CLI, you should have it already.
First, you need to install some of the dependencies with
npm install
Now, all you need to do is:
./azure-login.js -u <your_username>
./create-kubernetes-cluster.js
This script will provision a cluster suitable for production use, where there is a ring of 3 dedicated etcd nodes: 1 kubernetes master and 2 kubernetes nodes. The kube-00 VM will be the master, your work loads are only to be deployed on the nodes, kube-01 and kube-02. Initially, all VMs are single-core, to ensure a user of the free tier can reproduce it without paying extra. I will show how to add more bigger VMs later.
If you need to pass Azure specific options for the creation script you can do this via additional environment variables e.g.
AZ_SUBSCRIPTION=<id> AZ_LOCATION="East US" ./create-kubernetes-cluster.js
# or
AZ_VM_COREOS_CHANNEL=beta ./create-kubernetes-cluster.js
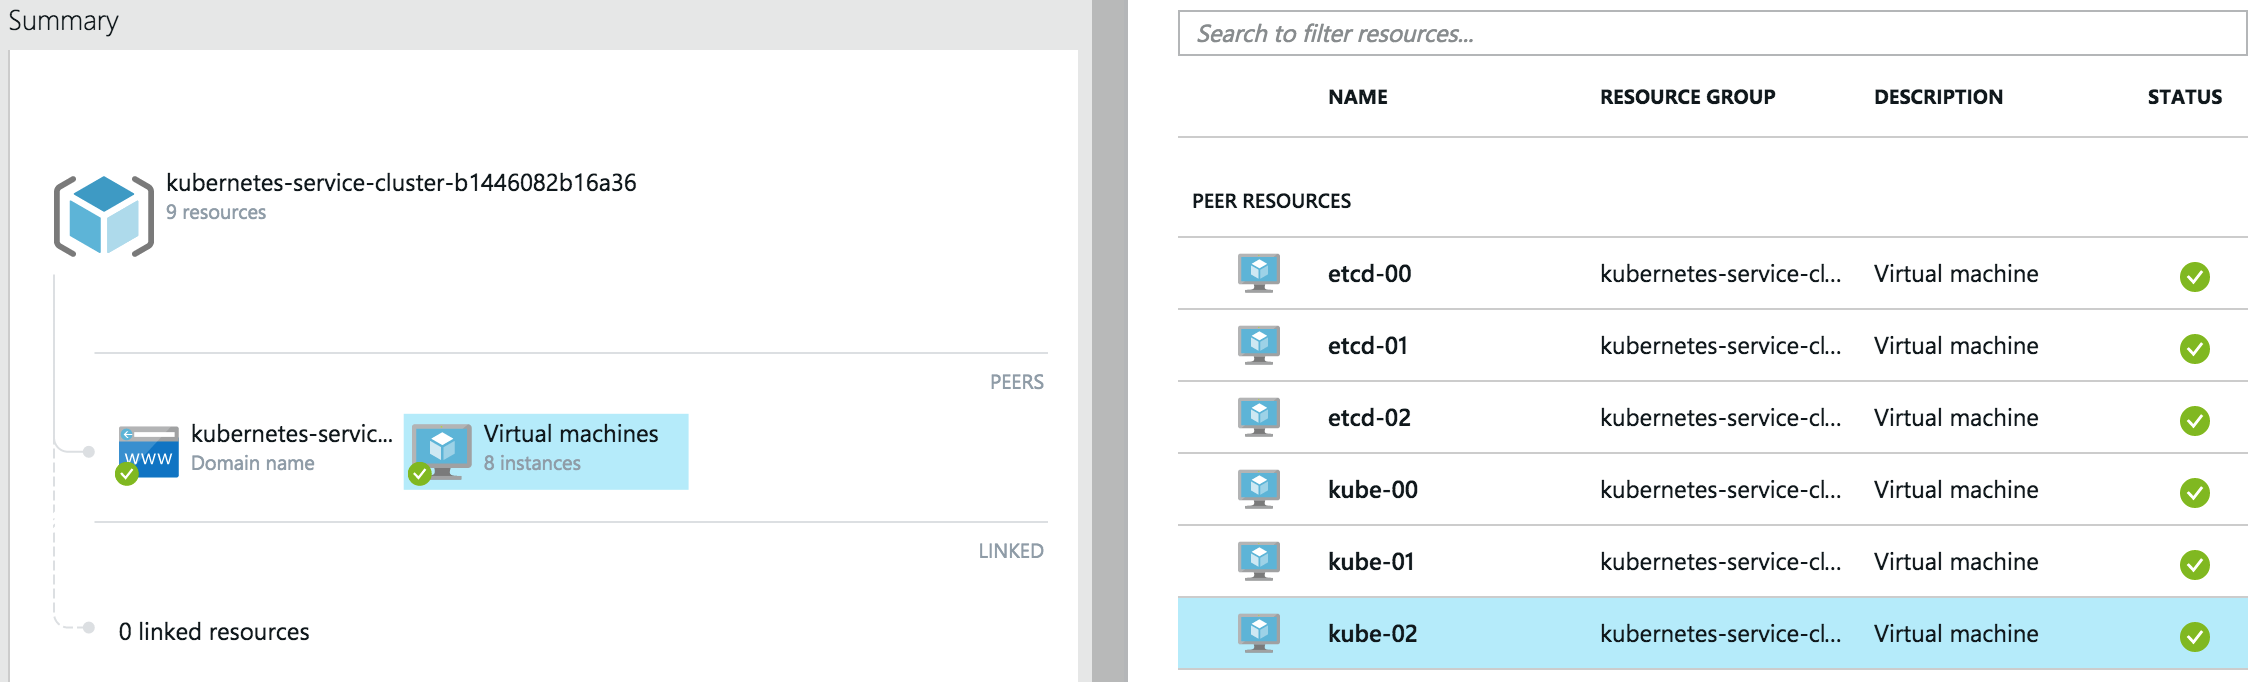
Once the creation of Azure VMs has finished, you should see the following:
...
azure_wrapper/info: Saved SSH config, you can use it like so: `ssh -F  ./output/kube_1c1496016083b4_ssh_conf <hostname>`
azure_wrapper/info: The hosts in this deployment are:
 [ 'etcd-00', 'etcd-01', 'etcd-02', 'kube-00', 'kube-01', 'kube-02' ]
azure_wrapper/info: Saved state into `./output/kube_1c1496016083b4_deployment.yml`
Let’s login to the master node like so:
ssh -F ./output/kube_1c1496016083b4_ssh_conf kube-00
Note: config file name will be different, make sure to use the one you see.
Check there are 2 nodes in the cluster:
core@kube-00 ~ $ kubectl get nodes
NAME      LABELS                           STATUS
kube-01   kubernetes.io/hostname=kube-01   Ready
kube-02   kubernetes.io/hostname=kube-02   Ready
Deploying the workload
Let’s follow the Guestbook example now:
kubectl create -f ~/guestbook-example
You need to wait for the pods to get deployed, run the following and wait for STATUS to change from Pending to Running.
kubectl get pods --watch
Note: the most time it will spend downloading Docker container images on each of the nodes.
Eventually you should see:
NAME                READY     STATUS    RESTARTS   AGE
frontend-0a9xi      1/1       Running   0          4m
frontend-4wahe      1/1       Running   0          4m
frontend-6l36j      1/1       Running   0          4m
redis-master-talmr  1/1       Running   0          4m
redis-slave-12zfd   1/1       Running   0          4m
redis-slave-3nbce   1/1       Running   0          4m
Scaling
Two single-core nodes are certainly not enough for a production system of today. Let’s scale the cluster by adding a couple of bigger nodes.
You will need to open another terminal window on your machine and go to the same working directory (e.g. ~/Workspace/kubernetes/docs/getting-started-guides/coreos/azure/).
First, lets set the size of new VMs:
export AZ_VM_SIZE=Large
Now, run scale script with state file of the previous deployment and number of nodes to add:
core@kube-00 ~ $ ./scale-kubernetes-cluster.js ./output/kube_1c1496016083b4_deployment.yml 2
...
azure_wrapper/info: Saved SSH config, you can use it like so: `ssh -F  ./output/kube_8f984af944f572_ssh_conf <hostname>`
azure_wrapper/info: The hosts in this deployment are:
 [ 'etcd-00',
  'etcd-01',
  'etcd-02',
  'kube-00',
  'kube-01',
  'kube-02',
  'kube-03',
  'kube-04' ]
azure_wrapper/info: Saved state into `./output/kube_8f984af944f572_deployment.yml`
Note: this step has created new files in
./output.
Back on kube-00:
core@kube-00 ~ $ kubectl get nodes
NAME      LABELS                           STATUS
kube-01   kubernetes.io/hostname=kube-01   Ready
kube-02   kubernetes.io/hostname=kube-02   Ready
kube-03   kubernetes.io/hostname=kube-03   Ready
kube-04   kubernetes.io/hostname=kube-04   Ready
You can see that two more nodes joined happily. Let’s scale the number of Guestbook instances now.
First, double-check how many replication controllers there are:
core@kube-00 ~ $ kubectl get rc
ONTROLLER      CONTAINER(S)   IMAGE(S)                                    SELECTOR            REPLICAS
frontend       php-redis      kubernetes/example-guestbook-php-redis:v2   name=frontend       3
redis-master   master         redis                                       name=redis-master   1
redis-slave    worker         kubernetes/redis-slave:v2                   name=redis-slave    2
As there are 4 nodes, let’s scale proportionally:
core@kube-00 ~ $ kubectl scale --replicas=4 rc redis-slave
scaled
core@kube-00 ~ $ kubectl scale --replicas=4 rc frontend
scaled
Check what you have now:
core@kube-00 ~ $ kubectl get rc
CONTROLLER     CONTAINER(S)   IMAGE(S)                                    SELECTOR            REPLICAS
frontend       php-redis      kubernetes/example-guestbook-php-redis:v2   name=frontend       4
redis-master   master         redis                                       name=redis-master   1
redis-slave    worker         kubernetes/redis-slave:v2                   name=redis-slave    4
You now will have more instances of front-end Guestbook apps and Redis slaves; and, if you look up all pods labeled name=frontend, you should see one running on each node.
core@kube-00 ~/guestbook-example $ kubectl get pods -l name=frontend
NAME             READY     STATUS    RESTARTS   AGE
frontend-0a9xi   1/1       Running   0          22m
frontend-4wahe   1/1       Running   0          22m
frontend-6l36j   1/1       Running   0          22m
frontend-z9oxo   1/1       Running   0          41s
Exposing the app to the outside world
There is no native Azure load-balancer support in Kubernetes 1.0, however here is how you can expose the Guestbook app to the Internet.
./expose_guestbook_app_port.sh ./output/kube_1c1496016083b4_ssh_conf
Guestbook app is on port 31605, will map it to port 80 on kube-00
info:    Executing command vm endpoint create
+ Getting virtual machines
+ Reading network configuration
+ Updating network configuration
info:    vm endpoint create command OK
info:    Executing command vm endpoint show
+ Getting virtual machines
data:      Name                          : tcp-80-31605
data:      Local port                    : 31605
data:      Protcol                       : tcp
data:      Virtual IP Address            : 137.117.156.164
data:      Direct server return          : Disabled
info:    vm endpoint show command OK
You then should be able to access it from anywhere via the Azure virtual IP for kube-00 displayed above, i.e. http://137.117.156.164/ in my case.
Next steps
You now have a full-blown cluster running in Azure, congrats!
You should probably try deploy other example apps or write your own ;)
Tear down…
If you don’t wish care about the Azure bill, you can tear down the cluster. It’s easy to redeploy it, as you can see.
./destroy-cluster.js ./output/kube_8f984af944f572_deployment.yml
Note: make sure to use the latest state file, as after scaling there is a new one.
By the way, with the scripts shown, you can deploy multiple clusters, if you like :)
支持级别
| IaaS Provider | Config. Mgmt | OS | Networking | Docs | Conforms | Support Level |
|---|---|---|---|---|---|---|
| Azure | CoreOS | CoreOS | Weave | docs | Community (@errordeveloper, @squillace, @chanezon, @crossorigin) |
For support level information on all solutions, see the Table of solutions chart.
深入阅读
Please see the Kubernetes docs for more details on administering and using a Kubernetes cluster